February 07, 2026
Shop drawings are where an interior project becomes real. They take design intent and convert it into the exact instructions a millwork shop will fabricate and install. When shop drawings are reviewed thoughtfully, the project moves with confidence. When they are reviewed quickly or inconsistently, revisions stack up, lead times slip, and costs rise in ways that are frustratingly avoidable.
This guide walks through a practical workflow used on real projects to prevent delays and protect design intent.
What Shop Drawings Are
How Shop Drawings Differ From Design Drawings
Design drawings are meant to communicate intent. They show what the space should look like, how elements relate visually, and what the overall concept is. They often include allowances or general notes because many details are still being coordinated across trades. That is normal and appropriate at the design stage.
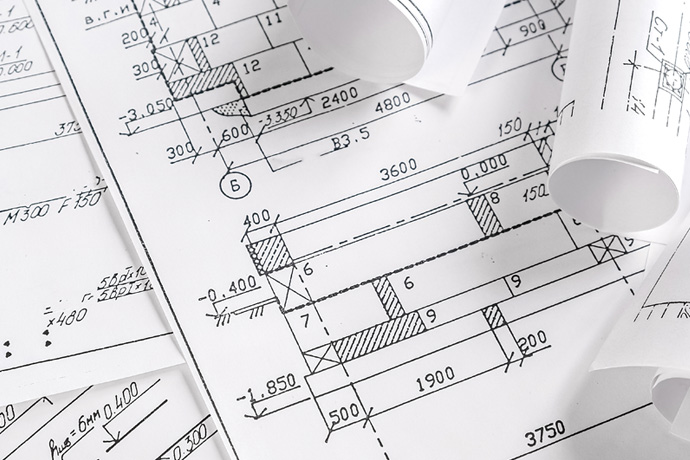
Shop drawings are different because they are fabrication documents. They include precise dimensions, specific construction methods, detailed sections, and exact locations for hardware, reveals, scribes, and fillers. They also reflect the real conditions of the site once field measurements are taken.
What “Approval” Means in Practice
Approval is a permission slip to build. When shop drawings are approved, the millwork partner can release materials, begin fabrication, and lock in scheduling based on the information shown. That is why late changes after approval often have real cost and schedule impacts, even when the change feels small. A one-inch shift can cascade into rework across multiple components.
The Fast Review Workflow
Step 1: Confirm Scope Matches the Quote
Start by confirming the drawings reflect what was priced and agreed. Check that all intended pieces are included and that nothing has been quietly removed or added. Look for items that are easy to miss, like end panels, fillers, appliance panels, toe kicks, floating shelves, trim returns, or matching cover panels. These are common gaps that create change orders later.
Also check the scope assumptions. If the quote included “by others” items, such as electrical rough-in, blocking, or countertop templates, make sure the drawings do not accidentally imply the millwork partner is responsible for them. This step is fast, but it protects the budget. If the scope is wrong, every other review step becomes a waste of time.
Step 2: Confirm Field Measurements and Site Conditions

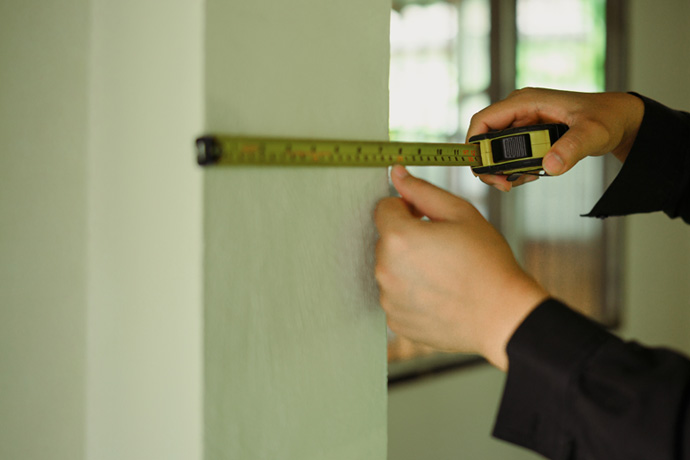
Shop drawings should reflect field-verified dimensions whenever the site is ready to measure. Confirm that critical conditions like wall-to-wall dimensions, ceiling heights, soffit depths, floor transitions, and out-of-plumb walls are accounted for. Millwork is precise, but buildings are rarely perfect.
If field measurement is still pending, the drawings should clearly state what is assumed. If you approve drawings based on assumptions that later change, you are almost guaranteeing revisions.
Step 3: Confirm Elevations, Sections, and Critical Dimensions
This is where you prevent the most expensive mistakes. Focus on key dimensions first: overall height, overall width, overall depth, and clearances that affect usability. Confirm door swing clearances, walkway clearances, and how cabinetry aligns with windows, adjacent walls, and ceiling conditions. If something looks tight, it probably is.
Review both elevations and sections because they reveal different problems. Elevations show alignment and visual rhythm. Sections show depths, interior clearances, and how components stack.
Step 4: Confirm Details Such as Reveals, Scribes, and Fillers
Details are where high-end work either looks effortless or looks “almost right.” Reveals control the visual lines between doors, drawers, and panels. Scribes and fillers determine how cleanly millwork meets imperfect walls.
Confirm reveal sizes and make sure they are consistent across related areas. Confirm where scribes are planned and how wide they are, especially at walls that are known to be out of plane. Confirm where fillers are used and whether they will read as intentional, particularly at appliance gaps and end conditions.
Step 5: Confirm Finish, Material, and Edge Profiles

Finish is one of the most common causes of revision because people assume it is “understood.” Confirm the exact finish system, sheen level, and color references. If the drawings say “paint” or “stain” without defining system and sheen, ask for clarification.
Material callouts should also be specific. Confirm veneer orientation, grain direction where it matters, and whether exposed edges are solid, banded, or wrapped. Edge profiles should be explicitly identified, especially on high-touch surfaces like counters, reception ledges, and open shelving.
Step 6: Confirm Hardware and Functionality
Hardware is functional and visible, which makes it high-risk if misaligned. Confirm hinge type, overlay or inset conditions, and swing direction. Confirm drawer slide specs, soft-close requirements, and interior accessories such as pull-out trash, trays, or file rails. If there are specialty items, confirm lead times and substitutions before fabrication begins.
Check pull locations, ADA reach considerations where relevant, and whether doors or drawers conflict with adjacent panels or appliances. Ask yourself how a person will actually use the space day to day.
Step 7: Confirm Interfaces With Other Trades
Millwork intersects with electrical, plumbing, HVAC, appliances, countertops, flooring, and tile. Confirm outlet locations relative to drawer boxes and backsplashes. Confirm plumbing clearances inside sink bases. Confirm HVAC grilles and access needs.
Look for conflicts that will be painful in the field, like a recessed medicine cabinet landing on a stud bay that cannot move, or a refrigerator panel needing clearance that the surrounding wall cannot provide. Confirm who is responsible for templates, cutouts, and access panels. The more your shop drawings acknowledge trade interfaces, the fewer surprises you get later.
The “Red Flag” List
Missing Dimensions
Missing dimensions create a risk. If a dimension is not shown, someone will assume it. Assumptions get built, and once something is built, changes become expensive. Missing dimensions also slow review because you cannot confidently approve what you cannot verify.
A practical approach is to scan for any “floating” elements. Open shelves, appliance panels, filler conditions, and trim returns are often under-dimensioned. If you see an area where you cannot tell exactly where something lands, request clarification.
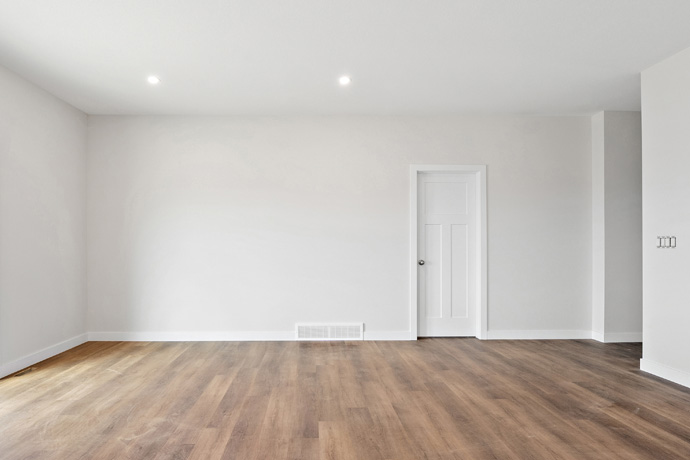
Unclear Assumptions About Walls, Floors, and Ceilings
Most costly revisions come from the gap between perfect drawings and imperfect buildings. If drawings assume walls are plumb, floors are level, and ceilings are consistent, that should be clearly stated. If the project team knows certain conditions are challenging, shop drawings should show how those conditions are handled. That includes scribes, shims, and tolerances.
Look closely at ceiling transitions, soffits, and flooring changes because they often affect cabinet heights and reveals. Confirm whether millwork runs to the ceiling, to a soffit, or to a finish trim line. If those references are vague, revisions are likely.
Conflicts With Appliances, Plumbing, Electrical, and HVAC
This is a classic red flag category because conflicts often appear late. Appliances frequently require clearances for door swings, ventilation, and service access. Plumbing requires trap and supply clearances, and electrical requires space for boxes, drivers, and routing. HVAC adds grilles, duct drops, and access needs that often collide with millwork.
The best shop drawings show appliance cut sheets referenced and confirm rough-in locations. They also show access panels where needed and avoid burying shutoffs behind fixed components. If you do not see coordination notes, ask for them.
Undefined Finish System or Sheen
Finish problems are rarely fixed easily. If sheen is not defined, people default to what they are used to, and that may not match the design vision. Lighting changes everything, especially in luxury interiors where reflections and texture are part of the experience. A mismatch in sheen can make millwork look too glossy, too flat, or inconsistent from one area to another.
No Access Panels Where Needed
Access is often forgotten until something needs to be serviced. If valves, shutoffs, cleanouts, data equipment, or HVAC components are located behind millwork, access must be designed. Without access, the “service event” becomes demolition. That is the kind of frustration clients never forget.
What to Mark Up
The 10 Notes That Prevent Rework
Most rework comes from a small group of recurring issues. Prioritize your markup around: scope mismatches, missing or unclear dimensions, critical clearances, door and drawer swings, reveal consistency, scribe and filler conditions, finish system and sheen, edge profiles, hardware specs, and trade interfaces. These ten categories cover the majority of costly surprises.
What Not to Nitpick
Avoid turning the shop drawing review into an aesthetic debate already resolved during design. Line weights, minor drafting conventions, or tiny label inconsistencies do not change the built outcome. Excessive nitpicking slows the review process and hides the important issues. It also increases the chance that a critical comment gets missed.
If something does not affect scope, fit, finish, function, or coordination, it likely does not belong in your markup. Keep the review focused on decisions that impact fabrication and installation.
How to Speed Up Revisions
One Consolidated Markup
A single consolidated markup reduces confusion and saves time. Multiple reviewers sending separate comments often create contradictions, duplicated requests, and missed decisions. Consolidation forces alignment before feedback is issued. It also gives the millwork team one clear path forward.
If multiple stakeholders must weigh in, collect their feedback internally, resolve conflicts, and send one coordinated document. This approach feels more professional and leads to cleaner revisions.
One Decision-Maker
A fast review requires a clear decision-maker. Without one, the team can become stuck in loops of competing preferences and delayed responses. That uncertainty slows fabrication and forces the schedule to absorb indecision. On high-end projects, time is often more expensive than the decision itself.
Assign a decision-maker who can finalize details when opinions differ. That person should understand the design intent and the practical constraints of fabrication and field installation.
A Clear “Approve With Comments” Approach
“Approve with comments” works when comments are minor and do not alter fabrication intent. It allows the team to proceed while still capturing adjustments in a controlled way. This can save days or weeks compared to waiting for perfect redraws on small edits. The key is being explicit about what must be revised before fabrication and what can be addressed as part of routine coordination.
Approval Checklist
Final Checklist Before You Sign Off
Before approval, confirm the scope matches the quote, field conditions are reflected, and critical dimensions are complete. Confirm reveals, scribes, fillers, and edge profiles because these govern finished quality. Confirm finish system and sheen, hardware specifications, and functionality including door swings and clearances. Finally, confirm interfaces with other trades and verify access for serviceable components. If you cannot confidently answer these items, pause and clarify.
Final Thoughts
Shop drawings are not administrative paperwork. They are the last controlled checkpoint before materials are ordered and fabrication begins. A disciplined review process protects design intent, reduces revision cycles, and prevents expensive field surprises.
At Joseph A. Interiors, we treat shop drawings as a critical part of craftsmanship, not a formality. We help clients and project teams review efficiently, clarify decisions early, and keep fabrication moving with confidence. If you are preparing for a millwork package and want a smoother shop drawing process from start to finish, our team is here to support you with the clarity and precision your project deserves.
Custom millwork is already a statement of craftsmanship. When paired with thoughtful lighting, it becomes immersive, functional, and emotionally resonant. If you’re planning a luxury renovation, boutique retail space, or simply want to elevate your interiors with detail-driven design, we’d love to talk. Let’s bring your vision to life!
- Share:
-

-

-

-


