February 07, 2026
Millwork installation day is where planning either pays off or shows its cracks. At this point, the work is built, delivered, and ready to be set. If the site is prepared, installation moves efficiently, and finishes look intentional. If it is not, even small issues can stall progress and compromise quality.
What “Ready for Millwork” Means
Why Install-Day Problems Get Expensive Fast
Millwork installation is precise work performed in sequence. Crews set, level, scribe, and align components based on the assumption that surrounding conditions are stable. When walls are not finished, floors are not at final height, or trades are still working nearby, that sequence breaks down.
Delays on install day are expensive because the work cannot simply pause without consequence. Crews, equipment, and materials are already onsite. Rescheduling often means additional mobilization, extended schedules, and compromised finish quality.
The Jobsite Readiness Checklist

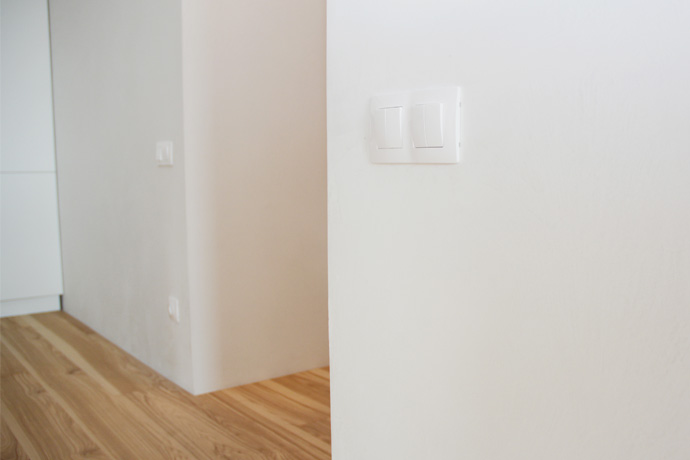
Walls: Plumb, Flat, and Finished
Walls must be fully finished before millwork arrives. This means framed, drywalled, taped, and painted to final coats where millwork will be installed. Millwork is built to precise dimensions and cannot compensate for unfinished surfaces.
Walls should also be reasonably plumb and flat. Excessive waves or out-of-square corners require scribing, shimming, or redesign in the field, which slows installation and affects final alignment.
Floors: Finished Height Confirmed
Final floor height must be established before installation. Whether flooring is installed or just confirmed, the finished elevation needs to be locked. Millwork heights, toe kicks, and reveals are all based on this reference point.
Climate: Temperature and Humidity Controlled
Millwork is sensitive to environment. The space should be enclosed and climate controlled, with temperature and humidity within reasonable operating ranges. Extreme conditions can cause materials to move or finishes to react poorly.
Lighting: Adequate for Finish Work
Good lighting is essential during installation. Crews need to see alignment, reveals, and surface quality clearly. Temporary construction lighting is often insufficient for this level of work.
If final lighting is not yet installed, supplemental lighting should be provided.
Access: Parking, Unloading, Elevator, Staging
Clear access saves time and prevents damage. Parking and unloading zones should be coordinated in advance. If elevators are required, they must be operational and reserved for installation windows.
Power: Outlets Available and Working
Install crews require power for tools and lighting. Confirm that outlets are live and accessible in the work area. Extension cords running long distances introduce risk and inefficiency.
Protection: Floor and Surface Protection in Place
Finished floors and adjacent surfaces should be protected before installation begins. This includes flooring, countertops, and nearby walls. Protection should be appropriate for the type of finish and duration of work.
Trade Coordination Must-Haves
Electrical Locations Confirmed
Electrical rough-ins must match approved shop drawings. Outlets, switches, and lighting locations should be confirmed before installation. Relocating electrical after millwork is set is disruptive and costly. Confirm box depths and clearances as well.

Plumbing Rough-Ins Verified
Plumbing locations should be verified against shop drawings, especially in sink bases, vanities, and wet bars. Supply and drain locations must align with cabinet openings and access requirements.
HVAC Vents and Returns Cleared
HVAC components must not conflict with millwork. Confirm vent locations, return sizes, and access needs. Millwork should not block airflow or service points. Coordination here protects both performance and code compliance.
Fire and Sprinkler Clearances Addressed
Sprinkler heads and fire devices must maintain required clearances. Millwork should not interfere with coverage or access. These constraints should be resolved before installation, not during inspection.
Appliance Specs and Onsite Units Verified
Appliance models should match approved specifications, and onsite units should be present if required for fit verification. Clearances, panel requirements, and service access depend on exact models.
What the Install Crew Will Do
Setting, Leveling, and Anchoring
Installation begins with setting components in place, leveling them precisely, and anchoring them securely. This establishes the baseline for all alignment and reveals. Accuracy at this stage affects everything that follows.
Scribing and Fitting
Scribing adjusts millwork to accommodate real-world conditions. This includes fitting to walls, floors, and ceilings that are not perfectly straight. Scribing takes time and skill and should not be rushed.
Door and Drawer Alignment
Once components are set, doors and drawers are aligned for consistent gaps and smooth operation. This step requires stable conditions and patience. Ongoing site work during alignment can compromise results.
Final Touch-Ups
Minor touch-ups are completed at the end of installation. These address small handling marks or field adjustments. Touch-ups assume that surrounding conditions are stable and protected.
Common Install-Day Issues and Fixes
Out-of-Square Corners
Out-of-square corners are common and manageable when identified early. Crews can scribe and adjust within reasonable limits. Severe conditions may require design adjustments. Early awareness avoids last-minute decisions.
Wrong Rough-In Location
Incorrect rough-ins cause immediate delays. The fix often involves trade rework and reinstallation sequencing. Verifying locations before install prevents this entirely.
Flooring Height Changes
Late flooring changes affect toe kicks, reveals, and overall alignment. These issues are difficult to hide once millwork is installed. Confirming finished height prevents visible problems.
Late Design Changes
Design changes during installation disrupt sequencing and often require refabrication. Even small changes can ripple through the installation. Clear approvals before install are essential.
After Install: Punch List and Care
What to Expect on a Punch List
A punch list addresses minor adjustments, not major rework. It may include small alignment tweaks, hardware adjustments, or final touch-ups. A well-prepared site keeps the punch list short and manageable.
When to Clean and How
Millwork should be cleaned after installation and once surrounding trades are complete. Cleaning too early exposes finishes to damage. Cleaning methods should match the finish system used.
Final Thoughts
Millwork installation is a precision process that depends on preparation. A ready jobsite allows crews to focus on craftsmanship instead of problem-solving. The result is a cleaner install, better finish quality, and fewer delays.
At Joseph A. Interiors, we help teams prepare for installation so the work goes in once and goes in right. If you are approaching millwork install day and want confidence that the site is truly ready, our team is here to guide you through the details that make the difference.
Custom millwork is already a statement of craftsmanship. When paired with thoughtful lighting, it becomes immersive, functional, and emotionally resonant. If you’re planning a luxury renovation, boutique retail space, or simply want to elevate your interiors with detail-driven design, we’d love to talk. Let’s bring your vision to life!
- Share:
-

-

-

-


